


How to Measure for a Desk Organizer
In this guide
- Three different spaces to measure
- Step 1: map the usable area
- Step 2: measure each object in the state you use it
- Step 3: distinguish outside size from opening size
- Step 4: describe the fit you want
- Step 5: make a paper access mock-up
- Step 6: photograph the hard-to-explain parts
- Choosing a catalog item or requesting a different size
An organizer can look perfect in a photograph and still be awkward on your desk. The missing information is often not the overall size but the space needed to insert, remove and use the things inside it. This guide shows how to measure that space before choosing or requesting a print.
Work through it with your actual remotes, pens, cables or phone case beside you. You do not need a technical drawing to begin. A ruler, paper and a few labeled photographs can produce a much clearer fit request than a device model name alone.
Three different spaces to measure
First is the footprint: the area the organizer occupies on the surface. Second is the opening: the usable internal space for a particular object. Third is the access space: the room your hand or the object needs while moving in and out. A design can fit the first two and still fail the third.
For example, a remote may stand inside a tall compartment but become difficult to grip when its top is nearly level with the rim. A drawer may fit under a shelf while lacking room to slide out. Measuring only the final resting position misses both problems.
Step 1: map the usable area
Clear the intended spot and mark its boundaries with a paper rectangle. Keep the keyboard, mouse, charging leads and other everyday items in their normal positions. Sit as you usually would and check whether the rectangle interferes with your arm, writing area or view of the screen.
Record the maximum width and depth. For a space below a shelf, record the height at its lowest obstruction, not the height at the front edge if something lower sits behind it. If a wall or monitor base prevents access from one side, mark that side on the sketch.
Step 2: measure each object in the state you use it
Measure a phone with its case fitted, a marker with its cap on and a cable with its connector attached. For tapered or curved objects, note the widest section that must pass through the opening, not just the narrower base. Add the height and any projecting controls or clips that could catch on a rim.
Use one row per object. If two remotes look similar, label them A and B in both the worksheet and photos. Avoid converting repeatedly between inches, centimeters and millimeters. If your ruler uses inches, state that clearly; do not supply an unlabeled number and leave the unit to be guessed.
| Object | Widest width | Depth / thickness | Height | Access note |
|---|---|---|---|---|
| Remote A | Measure with cover on | Include its thickest point | Full height | Leave a comfortable grip exposed |
| Marker | Include cap or clip | Note round or irregular shape | With cap fitted | Remove without catching a neighbor |
| Charging lead | Connector, not just wire | Connector thickness | Relevant plug length | Show cable route and exit direction |
Step 3: distinguish outside size from opening size
Here is a simplified planning example, not a specification for our four-slot remote holder. Suppose a rectangular organizer is 160 mm wide externally. If its two outside walls each occupy 3 mm and its three internal dividers each occupy 2 mm, the total remaining width is 160 − 6 − 6 = 148 mm. Four equal openings would average 37 mm each.
That arithmetic still does not prove that a 37 mm-wide remote will fit. The example ignores curvature, taper and manufacturing clearance. Its purpose is to show why dividing an outside width by the number of compartments gives a misleading answer. Request the usable opening dimensions when fit is important.
Step 4: describe the fit you want
“Must slide in and out easily” is different from “must stay snug when carried.” State the intended behavior rather than adding an arbitrary allowance to every measurement. Printed fit depends on geometry, material, orientation and process settings; there is no universal clearance that suits every joint. Prusa’s design guidance explains why a test and adjustment may be needed.
Send the actual measured object size and label it as such. Let the proposed design identify the intended clearance separately. Otherwise, a maker may add an allowance to a number that already includes one, making the result looser than either of you expected.
Step 5: make a paper access mock-up
Place your objects on the marked footprint. Use folded paper to suggest a front rim or divider, without pretending it predicts structural strength. Reach for each object several times. Check whether your fingers have somewhere to go and whether removing one item disturbs another.
For a phone stand, test the viewing position using the device and its normal cable. Record whether it will be used in portrait, landscape or both. Note any buttons, speakers or ports that must remain unobstructed. A mock-up is a useful ergonomic check, not proof that a particular printed stand can safely support a device.
Step 6: photograph the hard-to-explain parts
Take a straight-on view of the measured face and a side view showing depth. Keep the ruler alongside the feature in the same plane. Write the most important measurements in the message as well, because a camera angle can make the scale difficult to read. A close-up of a protruding clip often explains a fit problem better than another full-desk photograph.
If the organizer replaces an old one, include what did and did not work. “The front lip hides the volume button” or “the scissors tip reaches the bottom before the handle sits securely” gives a concrete design constraint. Do not send only a picture of an empty old holder.
Choosing a catalog item or requesting a different size
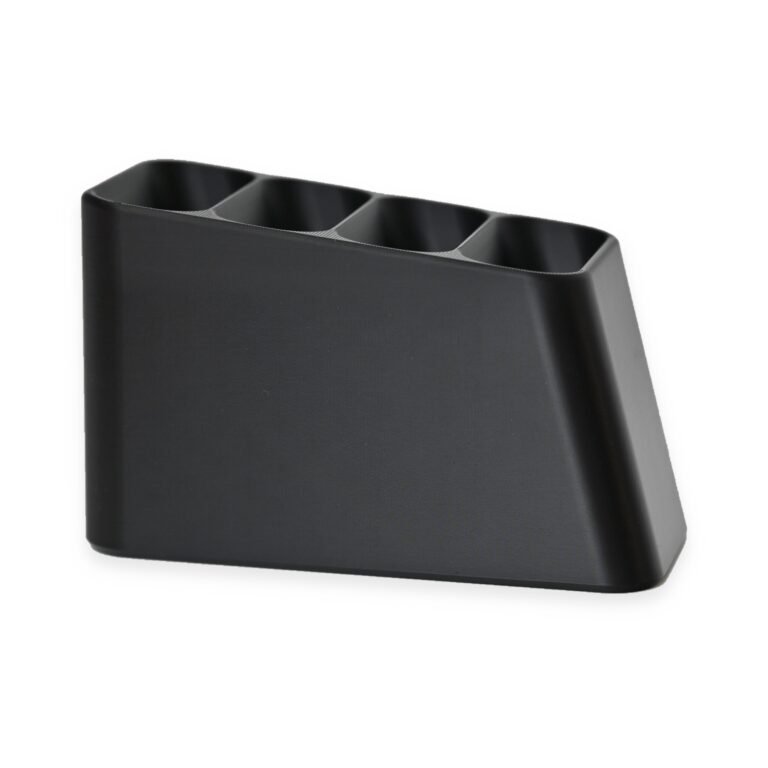
Compare your worksheet with the actual product’s dimensions and photographs. The four-slot remote holder is a useful starting point for divided storage, but a photograph is not a compatibility guarantee for every remote. Ask for clarification when an essential internal dimension is not listed.
For a custom version, attach the worksheet to a custom request and mark the maximum footprint, required opening sizes and desired access direction. Pair it with our personalization planning checklist if the item also includes a name or message. Clear measurements make the next conversation about design choices instead of missing information.